Your Fence Installation Process, Simplified
Our fence installation process is fast, stress-free, and built to last—sit back while our team handles every detail.
01
Consultation, Site Check, and Goals
We start by listening to your goals, budget, and timeline. Then our professional team walks the yard to verify property lines, local building codes, and any local zoning laws. We mark the fence line, note neighbors and access, check slope and soil, and request utility locates to protect underground utilities. Photos and measurements document the site, including gate locations and material preferences. This same intake also powers smart decisions for fence repair, commercial fence, and temporary fence, so the entire process begins accurate, safe, and efficient.
02
Design Options, Materials, and Clear Estimate
Together we choose the fence type: wood fencing, chain link, ornamental metal, or privacy fence, and plan gates where you need access. We review posts, rails, panels or pickets, hardware, and finishes, plus HOA requirements. You’ll get an itemized estimate showing materials, labor, and schedule with transparent upgrades. Expect expert guidance on durability, curb appeal, and maintenance so you can build a fence that fits your property and budget. Ask for a free quote; our professional team explains trade-offs clearly before anything is ordered.
03
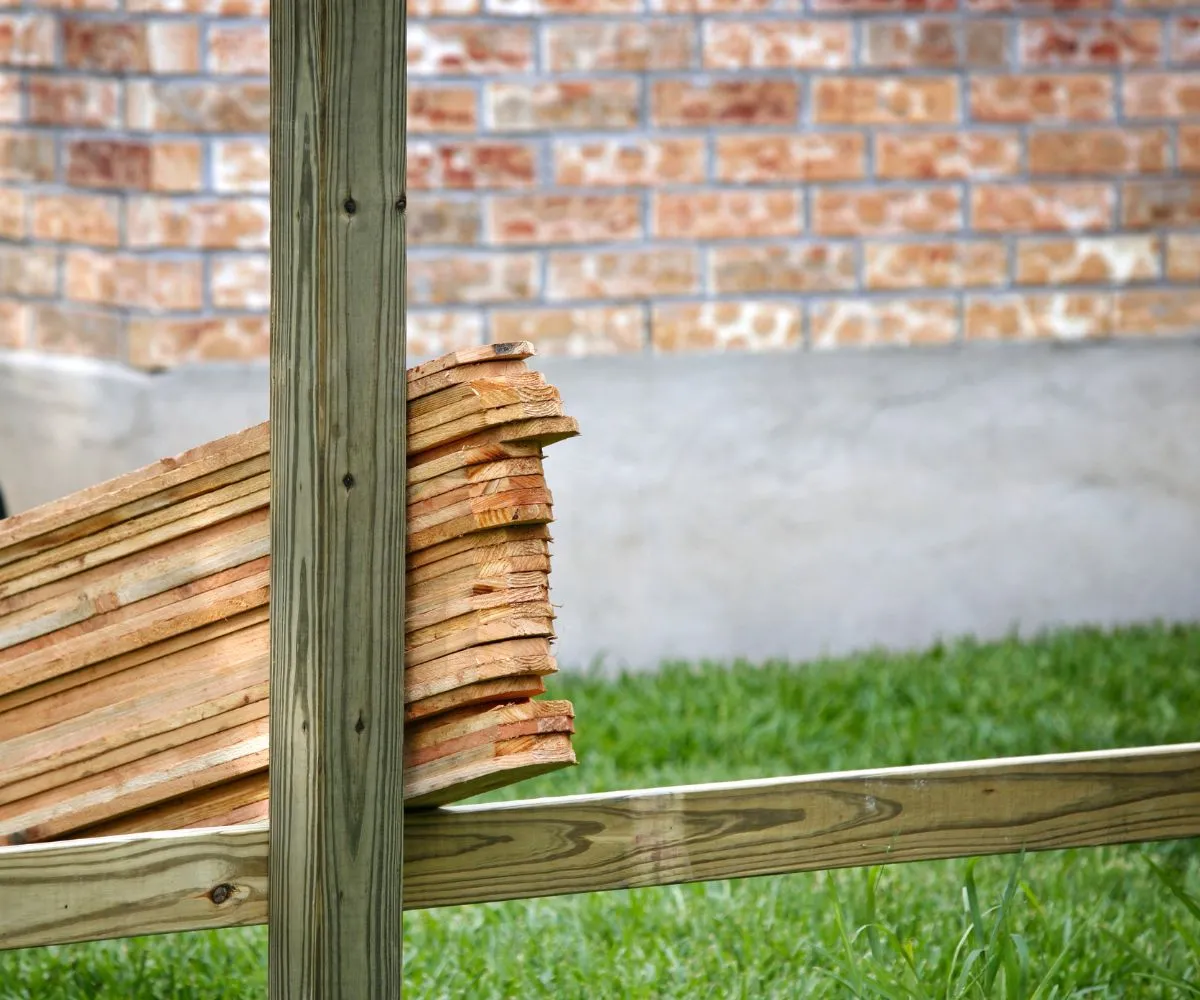
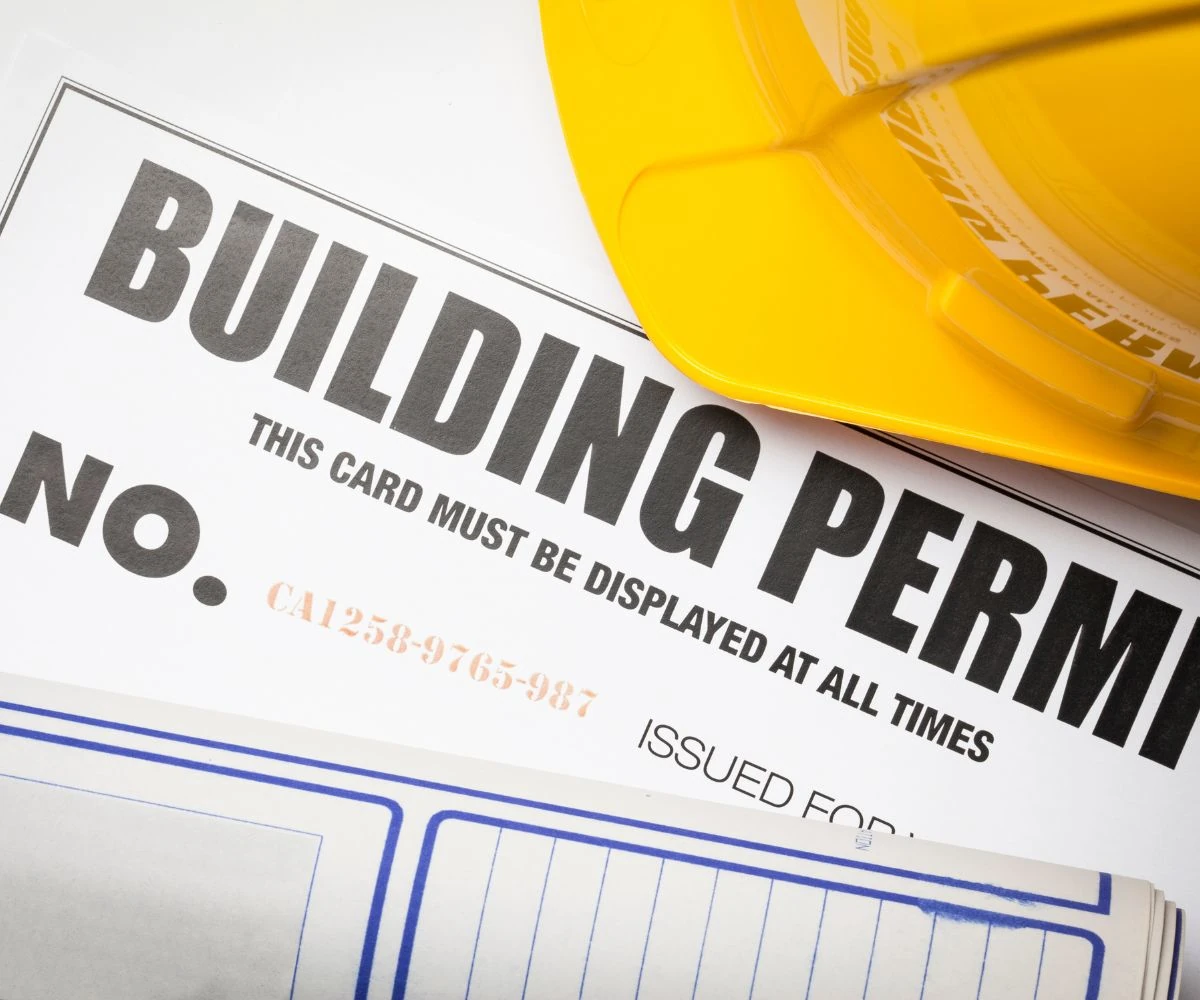
Permits, Scheduling, and Site Preparation
We handle obtaining permits and confirm local requirements, then lock in dates that work for you. Layout strings mark property boundaries and post spacing for consistent lines. Materials arrive and are staged neatly; safe paths are set for crew and equipment. We protect your landscaping, verify underground utilities, and prepare all necessary tools, including a post hole digger or auger, levels, saws, and a reliable concrete mix. For temporary fence, we stage panels, bases, and gates. A weather plan, dust control, and neighbor-friendly access keep the site orderly.
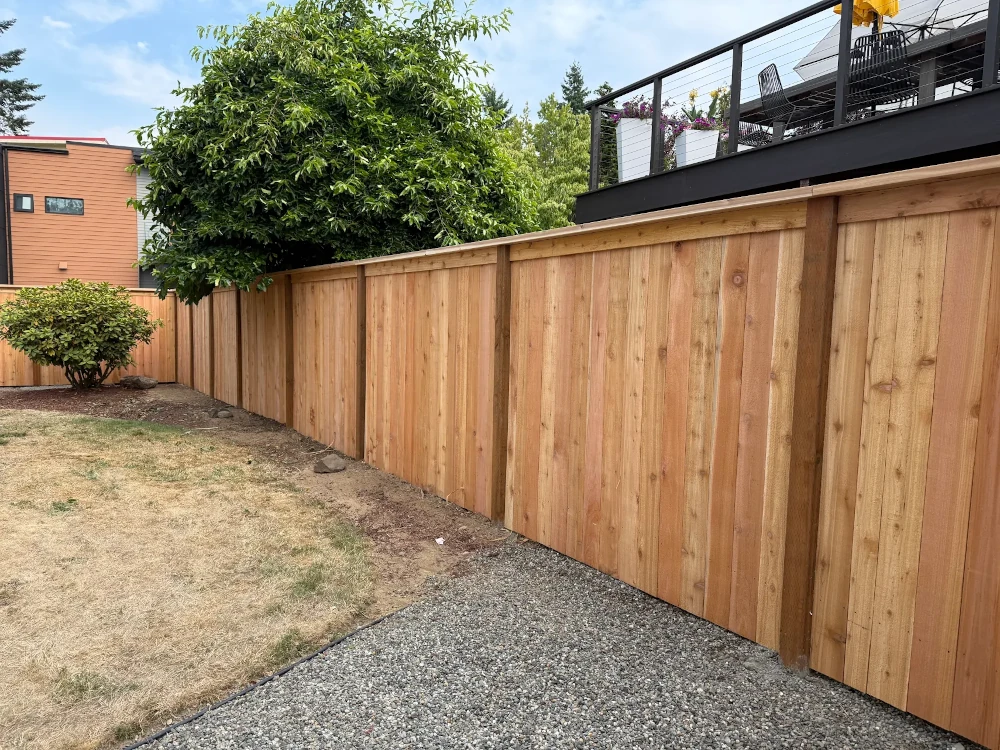
04
Professional Installation: Posts, Rails, and Panels
Installation begins with precise post holes, often about one third of post length, so fence posts can be set in concrete for strength. We check plumb and height, then attach rails using structural fasteners or deck screws. Fence panels or pickets are installed with consistent spacing for a straight, uniform look. Gates are hung, aligned, and tested for smooth swing and secure latching. For repairs, damaged sections are replaced and posts reset; commercial projects may use heavier rails, taller posts, reinforced hardware, and security features.
05
Finishing Touches, Cleanup, and Final Inspection
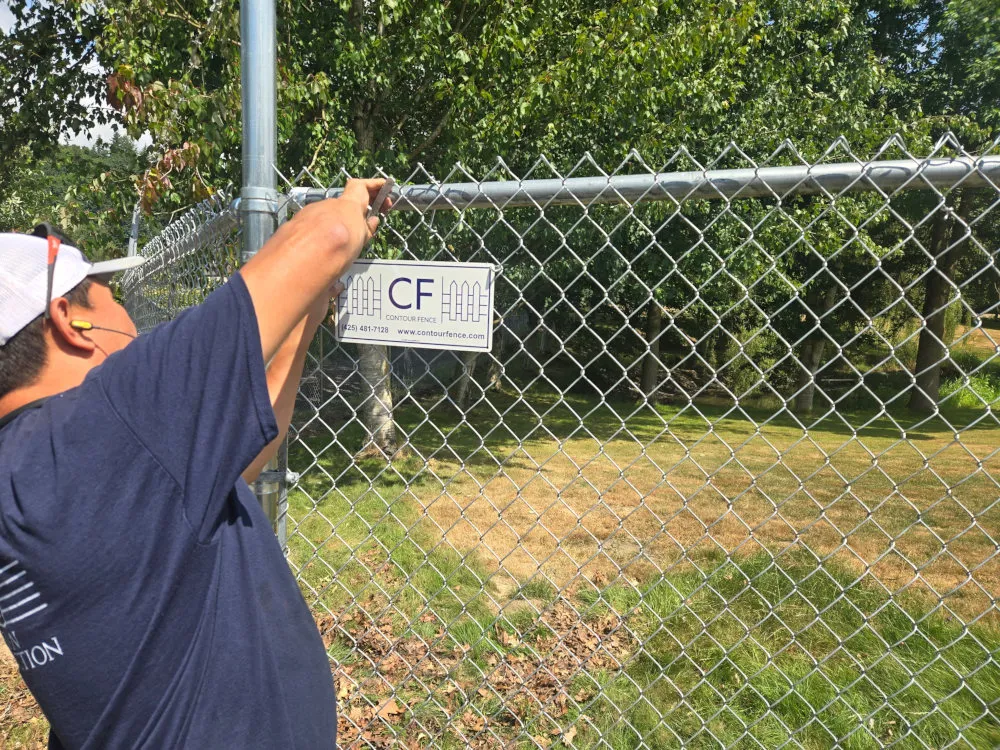
We complete the finishing touches that elevate the result: trim tops, add caps, tighten hardware, and soften edges for safety and aesthetic appeal. The crew hauls debris, rakes ground, restores access, and confirms drainage paths are clear. Together we walk the fence, verify measurements, and ensure the fence installed matches the approved plan and local regulations. Our final inspection checklist covers gate function, clearances, spacing, and fasteners. You’ll receive care tips that protect materials, preserve natural beauty, and boost curb appeal.
06
Support, Warranty, and Next Steps
After installation, we back your fence with a 3-year warranty on materials and craftsmanship, protecting you from installation or material defects (normal wear and tear not included). If you ever need storm-damage fence repair, an added gate, commercial fence upgrades, or temporary fence for a project, our professional team responds quickly with transparent pricing. Expect maintenance tips, seasonal checkups on request, and clear answers. Ready to start? Call, message, or request a free quote today.